How to Repoint Your Paving
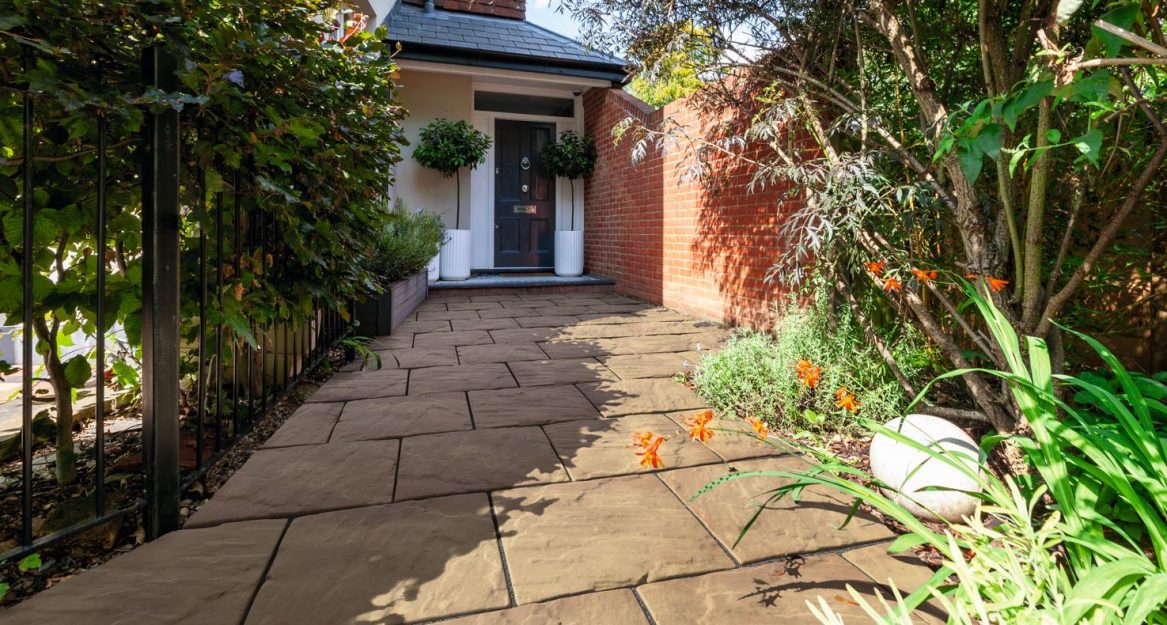
With older patios and paved areas, often it’s the joints that are the first aspect to require repair. Repointing a patio every so often is an essential job that must be completed correctly to ensure your patio is looking its best for years to come. This guide will take you through the best method of repointing and rejuvenating your paved area.
Out with the Old
Before you can add the new pointing material it is essential that the existing material in the joints is removed before you can refill them. This is perhaps the most time-consuming job but is essential to achieving the best results.
To remove the old material, use a plugging chisel (or a similar tool) for excavating the joints, or a bolster with a lump hammer for the more stubborn jointing material. Be sure not to be too rough or heavy-handed, older slabs may be more brittle than newer products, while voids below paving could reduce the underground support, leading to a slab chipping of cracking.
Clean the Joints
Once all the old jointing material has been removed, we advise that all the joints are cleaned and washed down thoroughly. Use a stiff brush and a hose pipe for best results in removing any other loose material from joints, ensuring they are completely free of gravel, stones and debris.
Fill the Joints
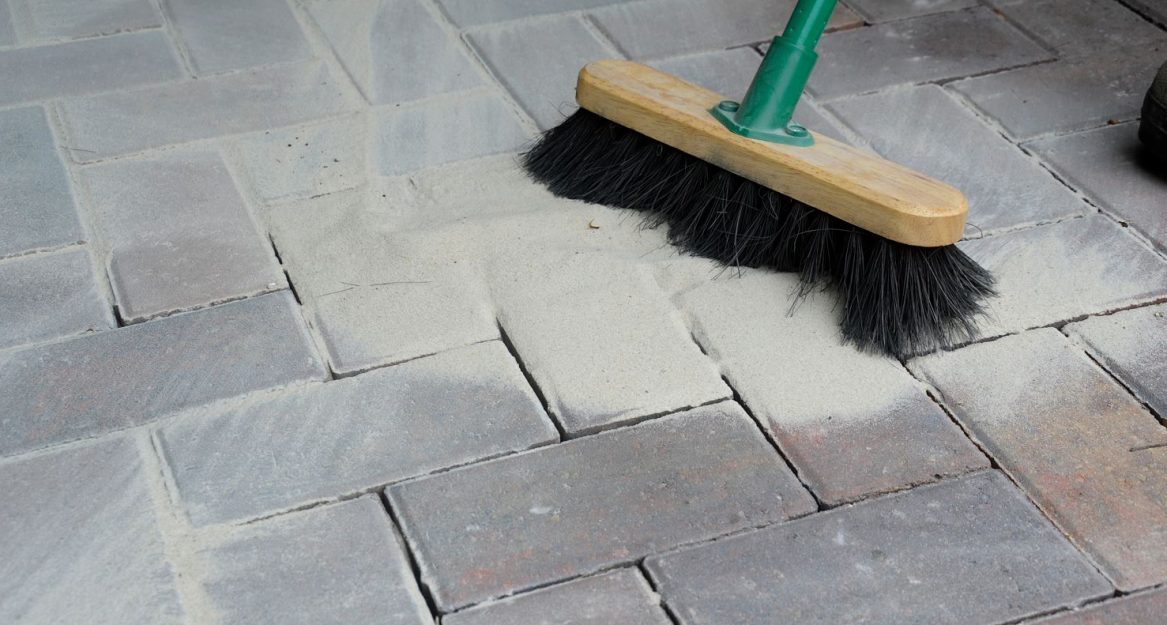
The final job is to fill the joints between paving stones or slabs with either a premixed jointing compound, or a sand and cement dry mix. There are different mixes that could be used, which depend on your paving/patio and joint widths:
For joints less than 5mm wide, we advise using only kiln-dried sand between the slabs; brush the sand into the joints and remove excess and loose sand from the patio.
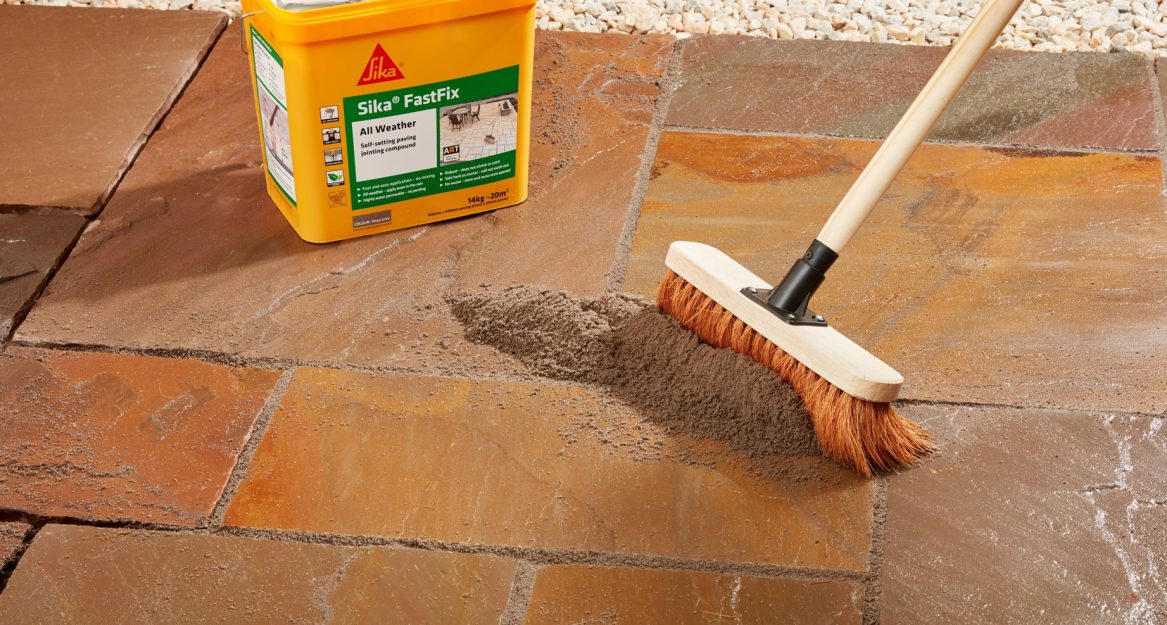
For joints between 5mm and 10mm, we advise using a dry mix of sand and cement in a 1:1 ratio (one part sand to one part cement). Brush the mix into the joints using a soft brush, compress the mix into the joint and add more until the joint is full. Remember to remove the excess mixture from the slabs, as the cement can stain if left.
For joints greater than 10mm, we advise to use a wet mortar mix in a 4:1 ratio (four parts sand to one part cement). When making the mix, add water slowly to achieve a smooth, damp consistency and don’t make it too wet and sloppy. Add the mix to the joint and work it in with a trowel, push and compact the mix in firmly until each joint is filled. Remove excess mortar from the slabs to prevent staining (a damp sponge is handy for this).
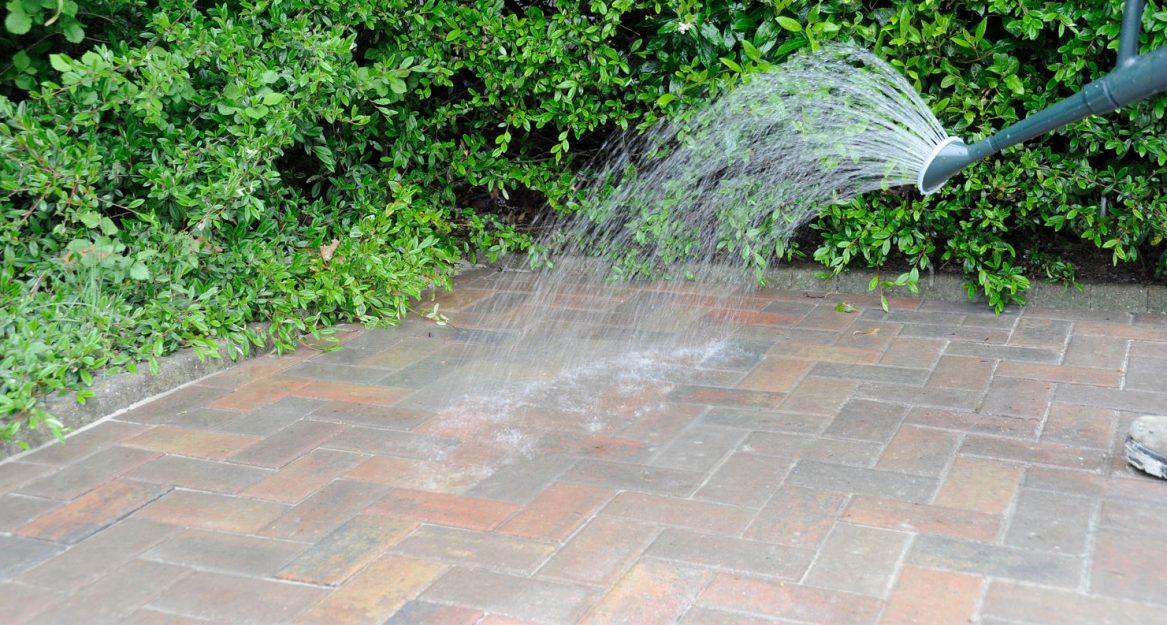
The mix will absorb ground water and moisture when in place and will set to form a solid joint. You can use a hose pipe or a watering can (with sprinkler head) to moisten the pointing, but make sure you don’t go overboard and wash away the mix. Premixed jointing compound is available in different colours, while you could also add a cement colouring agent to add colour to your sand/cement mix to complement your patio and the finish of your paving slabs.
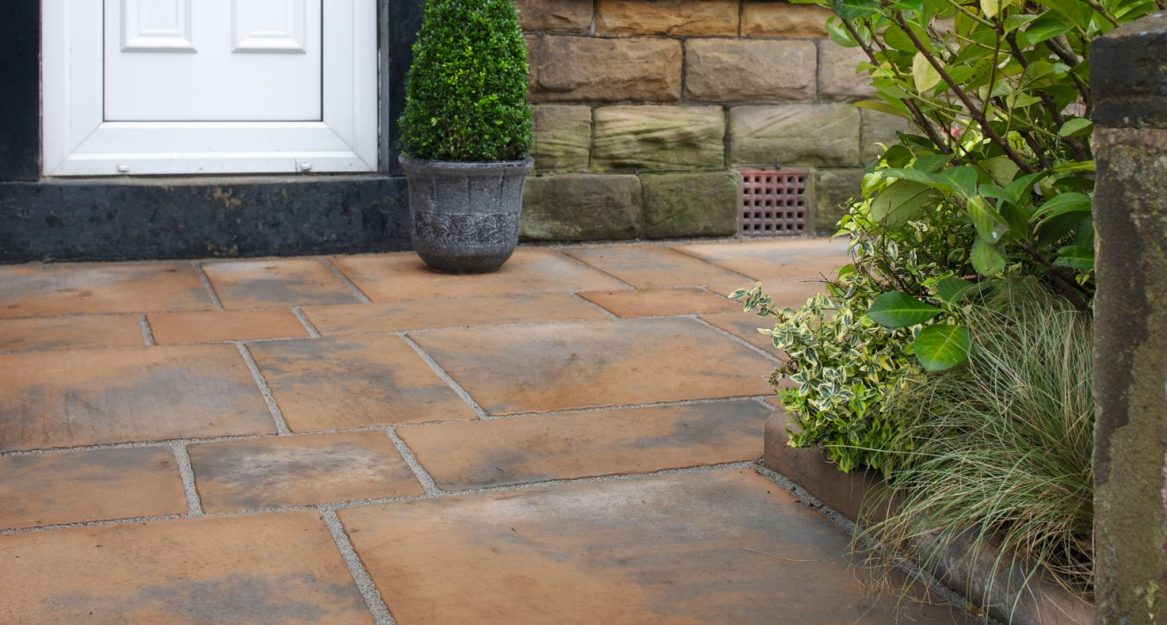
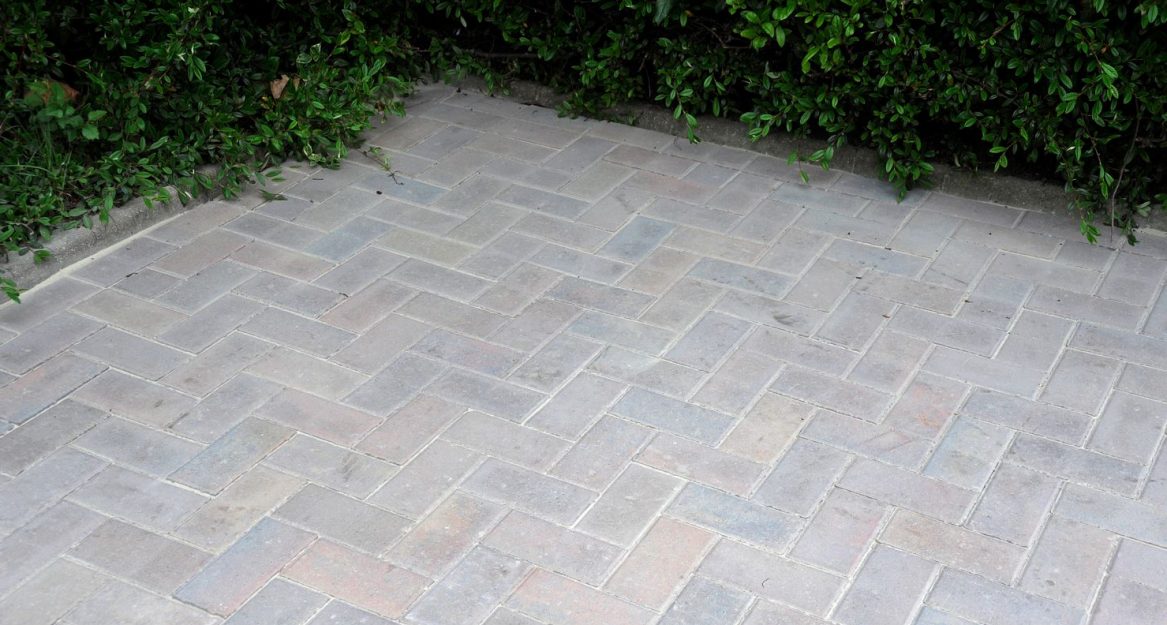
That’s it! Your paving will be looking great for years to come!
If you require any help or advice on materials or methods please get in touch or speak to one of our staff members in-store.
For further information on our paving options please visit our paving and driveways page.
If you found this guide helpful in transforming your garden share your process with us. We’d love to see your before, during and after pictures. If willing, we’ll share your work on our channels to show the world.