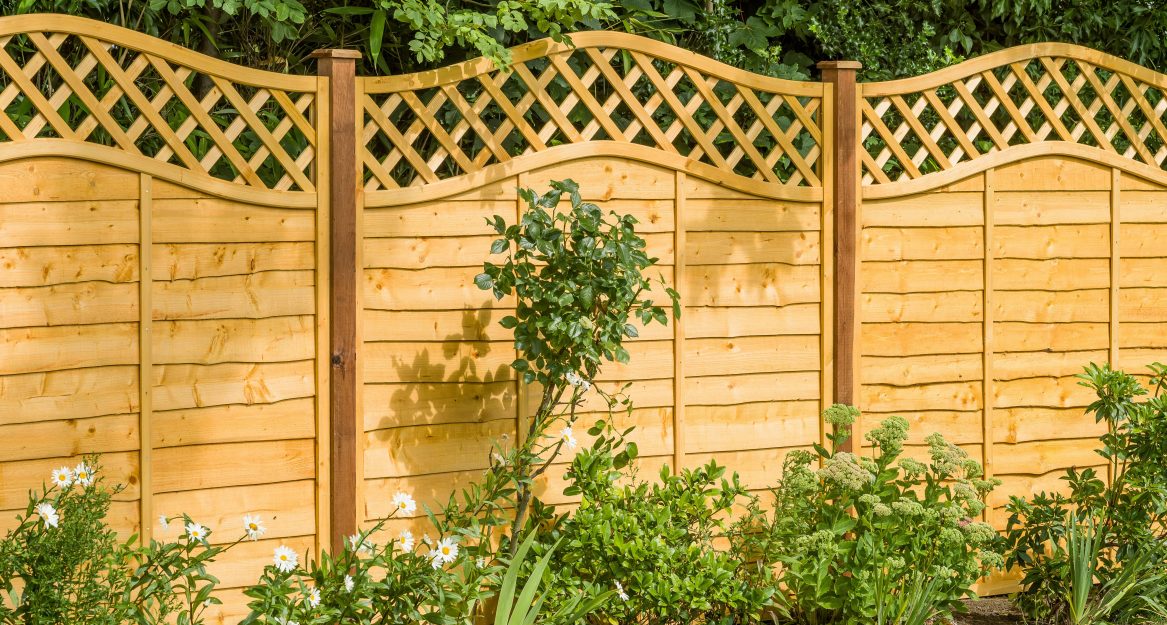
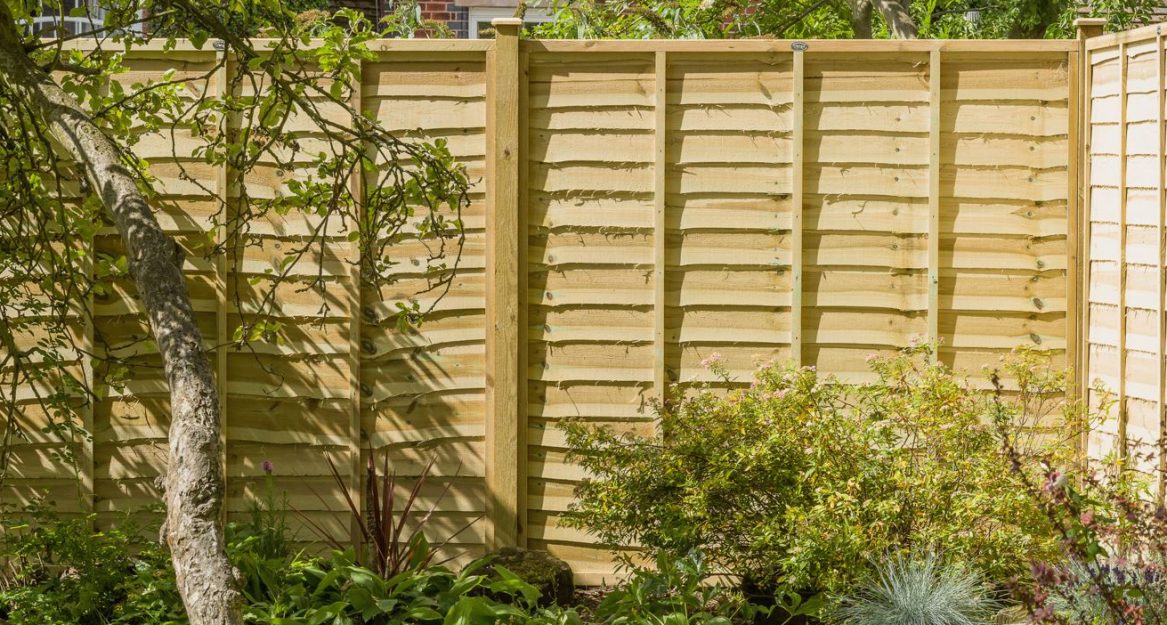
How to Install a Fence Post
Installation of fence post is not as easy as it looks; this guide will direct you on the best method to do so but look to get a professional if you are not confident in any way.
Buying Right
Ensure you buy posts made from treated timber so that they are protected from the elements and last for years to come.
Get the correct size and make sure you allow for the depth that the posts will be in the ground. Buying posts too short for the job will cause stability issues, especially under stronger winds and other stresses (such as heavy usage and climbing by children or animals). Most professionals advise that a full third of the total post length is below the surface – around 600mm for a standard fence.
Going Underground
Before digging, make sure you know the location of all underground facilities such as pipes and cables. Causing damage to any of these will at the very least cause a much larger and more costly job in repair but could have deadly consequences if gas or electricity mains are accidentally struck and damaged. The local authority may be able to provide details of underground lines – check using an underground CAT scanner (Cable Avoidance Tool).
Plan Your Layout
We advise running a line or string along the length of the planned fence location. If you don’t have a line, then use timber or batten so you can visualise the location, to help spot any unforeseen issues.
Mark the string/batten or place your posts in the correct location where the holes will be dug – spaced with the same width as your panels or planned bays.
Dig Yourself a Hole
Make sure you dig your holes deep enough for the fence posts to sit in as planned i.e., about one-third of the total post length.
Place the soil and excavated material on a strong plastic sheet so it can be removed easily without damaging or permanently covering the ground underneath.
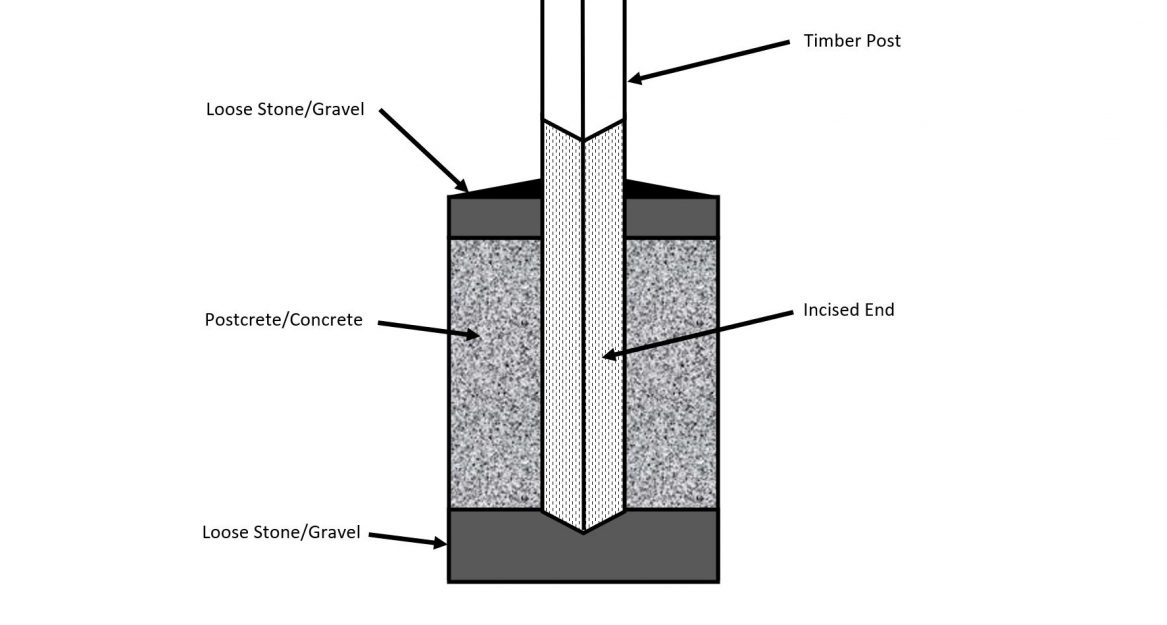
Install the Post
For drainage, add 15cm (about 6 inches) of loose stone or gravel to the base of the hole. Otherwise, the concrete will prevent sufficient water run-off, causing water to ‘pool’ in the hole, leading to post deterioration, rot and structural weakness.
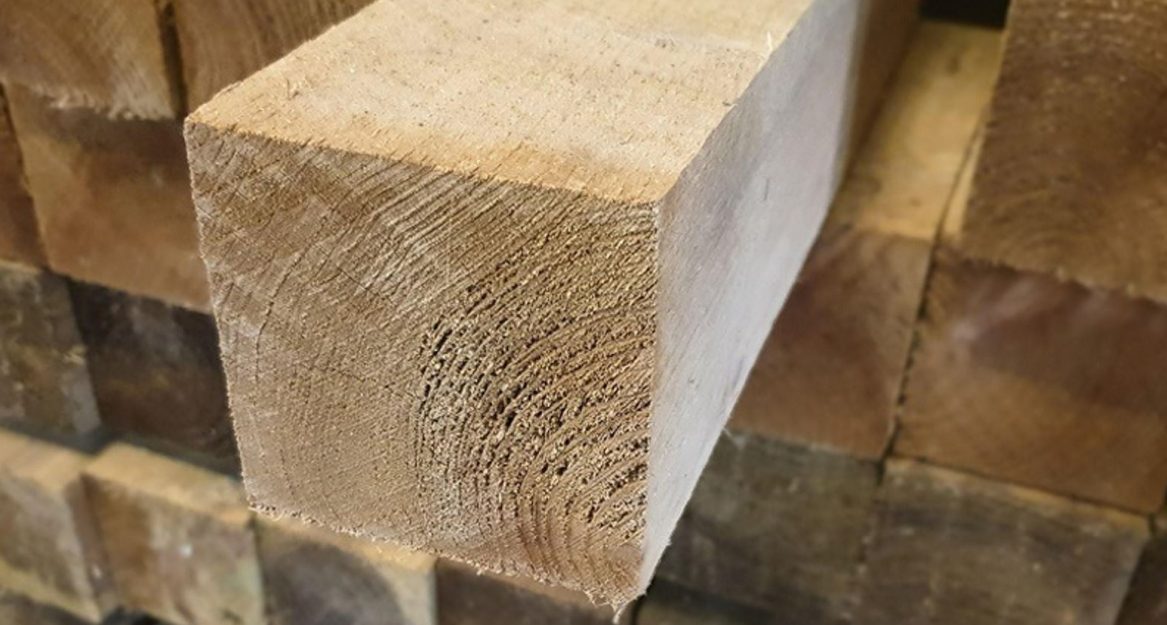
Fence posts have two ends, an incised end and a ‘top’. The incised end contains tiny holes and a ‘dotted’ marking. This is due to the process of timber treatment, where steel teeth have been pressed into the timber to increase the penetration of preservative chemicals into the wood. Ensure you place the incised end of the post into the hole. If the post needs to be cut, make sure that the opposite end to the incised end (the top) is cut. The cut end can then be treated and sealed with a preserver.
Ensure the incised section stretches at least 100mm (about 4 inches) above ground level.
Solidify Your Good Work
Add ‘postcrete’ (a fast-setting concrete) with water to the hole until it reaches roughly ground level. Using a trowel, smooth the surface and angle a shallow slope away from the post to allow for water run-off. Usually about 2 bags of postcrete per post is advised.
Ensure the post is level using a spirit level (or a specialised post-level tool) and prop it in place using timber or battens. The postcrete should set within 5-10 minutes.
If you require any help or advice on materials or methods please get in touch or speak to one of our staff members in-store.
For further information on our fencing options please visit our gates and fencing page.
If you found this guide helpful in transforming your garden share your process with us. We’d love to see your before, during and after pictures. If willing, we’ll share your work on our channels to show the world.